Be Inspired: Materials Under the Microscope - Plaster
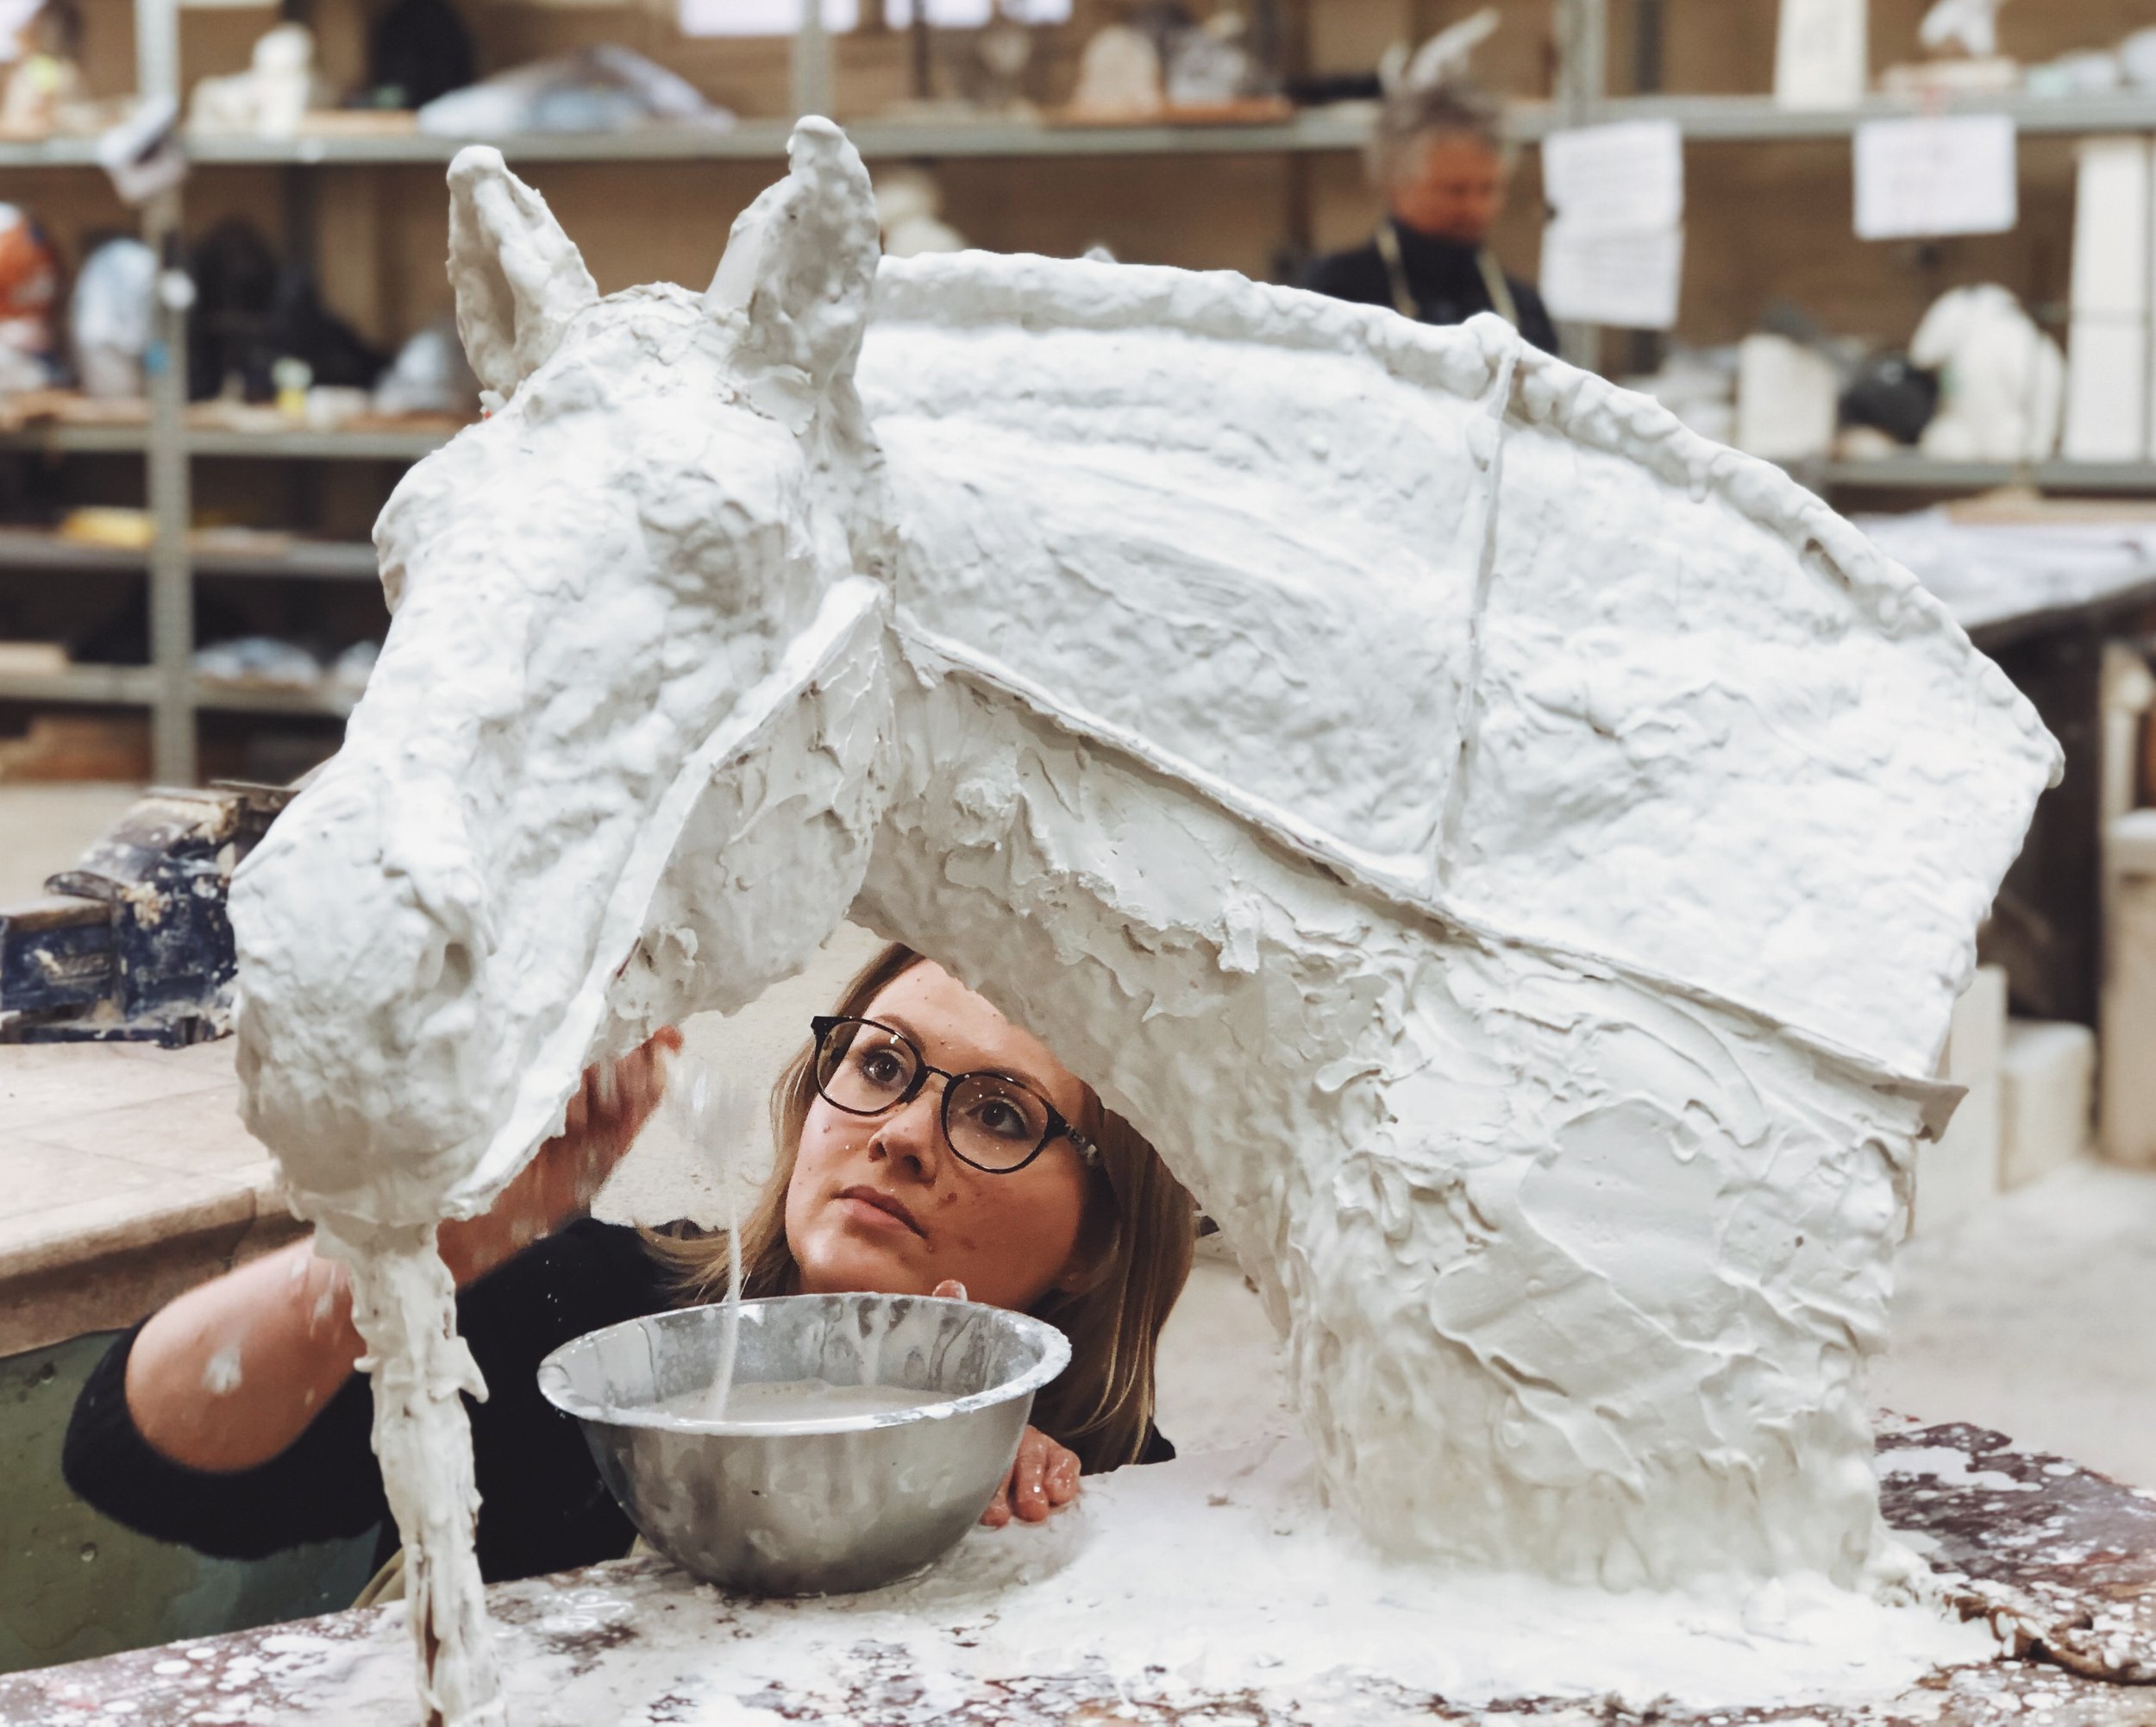
Figure 1
This week we continue our exploration of sculptural materials, but move away from stone, to consider a common casting material: plaster.
We all know about plaster – it’s a building material, isn’t it? We use it to create smooth walls, and to design intricate interior decorations and cornicing. Builders mix it with water, apply it to a surface, smooth it or mould it, and then it hardens. Simple, right? Historically, it was used to create elaborate reliefs, sometimes referred to us stucco work, which formed a critical feature of the interior decoration of housing and other buildings (see some examples below, figure 2).


Given its history of being used to create sculptural reliefs, and its cheap cost (relative to other materials, such as bronze or stone), it’s unsurprising that plaster is the material-of-choice at the Tom Bass Sculpture Studio School. The vast majority of the sculpture created by students at TBSSS is sculpted in plaster – either by creating a plaster waste mould and casting in plaster, or by applying plaster directly to an armature (sometimes called ‘direct plaster’).
Beginner students begin their sculptural journey at TBSSS by creating a plaster relief – a sculpture made from a flat surface in which the form/lines are raised above the surface (giving the impression of a 2-dimensional work) – which is a four-stage process:
(1) Modelling their relief in clay (usually against a flat wooden surface);
(2) Creating a plaster waste-mould from the model and subsequently removing the clay;
(3) Casting into the waste mould in plaster and then chipping the mould off the sculpture; and finally
(4) Finishing and colouring or providing a patina to the work (the patina can often, in fact, create an illusion that an alternative material, such as bronze, was used to create the sculpture).
For some examples of reliefs, see below. The School encourages students to explore the TBSSS library to find some inspiration from the great masters before they begin.
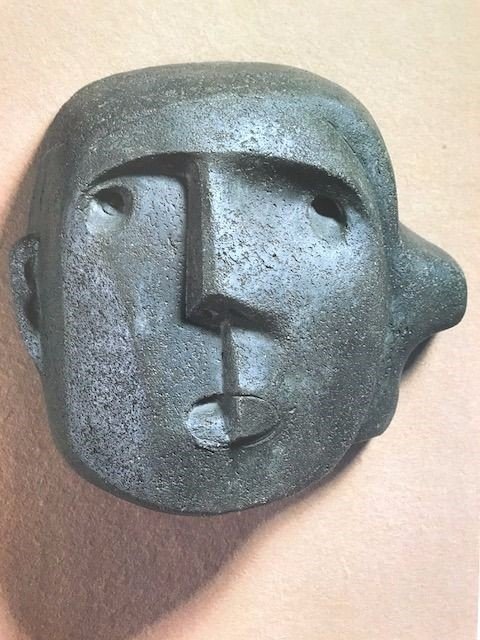
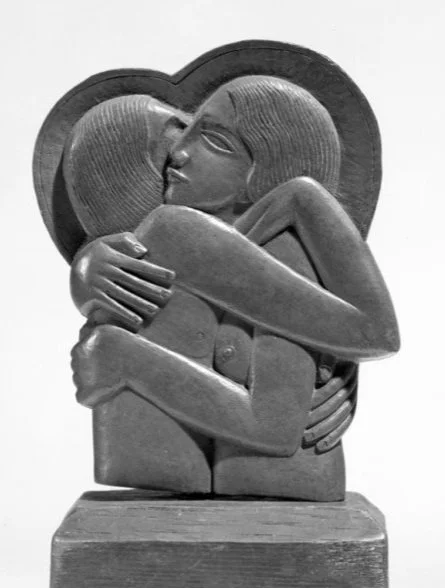
Figure 3 & 4
More advanced students then move beyond the relief, exploring the full freedom of the 3-dimensional art form, by creating figure, busts, animals, objects, and abstract pieces. The basic process, however, remains very similar to that described above. Other students may choose to expand their practice into direct plaster, or working in the negative with stone.
But this poses a number of questions: why is plaster such an effective sculptural material? And how can it be used for so many purposes (for example, to both create the mould, and the cast)? Once again, the answer lies in some exciting chemistry!
The chemistry of plaster
There are, in fact, several different types of plaster. The earliest plasters known to humans were lime-based and is thought to have originated around 7500BC in Jordan. The most common types of plaster used today are gypsum-based (or calcium sulphate based – sometimes called Plaster of Paris) and lime-based plasters. At TBSSS, we used gypsum plaster, sourced from construction supplies company CSR Gyprock. The plaster comes in a powdered form, called its dehydrated form. In the case of gypsum plaster, the powder consists primarily of calcium sulphate anhydrate, or CaSO4.
What makes plaster so effective as a sculpting agent is its gradual chemical reaction with water – that is, it doesn’t harden instantly, but takes some time. While mixing with water might seem like an innocuous act (we don’t generally consider water of a ‘reactive’ substance), the chemical reaction that takes place upon mixing is crucial:
CaSO4 (s) + 2H2O(l) à CaSO4.2H2O (s)
It looks simple enough, and to the average person it might look like a totally insignificant reaction. But it’s not! The equation is expressing the reality that, when mixed with water (H2O), the water molecules integrate themselves into the crystal structure of the calcium sulphate (creating the hydrated form), changing the microscopic structure (and hence properties) of the compound entirely! This means that the original structure (top) becomes a different structure (bottom). Note: the green atoms are calcium (Ca), the yellow atoms are sulphur (S), the red atoms are oxygen (O) and the grey atoms in the lower structure are hydrogen (H).

Figure 5

Figure 6
One sign that a chemical reaction is in fact taking place when you mix plaster with water is that it releases heat – and quite a lot of it! If you feel the plaster while it’s setting you will see it gets hot. This is why it’s really not a good idea to put your hands in plaster as it sets – the temperature can escalate to well over 60oC and cause severe burning. Many of you may remember the sad story of this occurring in a high school art class in the United Kingdom around a decade ago.
How can it be used for so many purposes?
But how come we can use plaster for the mould and the cast? Surely if the materials are the same, the structural integrity (or hardness) will be the same, and hence will be impossible to ‘chip out’ (or separate’) the cast from the mould?
Wrong! We can alter the structural integrity of plaster, and hence create gradations in plaster ‘hardness’, in a number of ways:
we can re-enforce the plaster with a material such as sisal, or with supporting structures such as metal bars; and
we can change the ratio of plaster to water during mixing.
Sculptors do both of these!
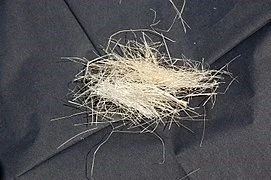
Figure 7
Sisal fibre (derived from the plant Agave sisalana, native to Mexico, see below) can be placed within a cast to reinforce it and to prevent it from cracking/separating.
Similarly, the ratio of plaster to water can be altered at the mixing stage to change the properties of the plaster once set (and also speed up or slow down how quickly it sets). Tom Bass AM, with all his learning and experience from Dattilo Rubbo and the Académie Julian, developed a tried and true mnemonic for this:
Milky mould (for creating moulds)
Creamy cast (for casting)
Buttery building (for ‘direct plaster’ work).
Controlling these grades makes removing the mould (‘chipping out’) without disturbing the cast work much, much easier. Usually, the separate layers are also marked with a paint layer of some kind (pink at TBSSS), to remind the sculptor where the mould ends and the cast begins.
All these controls make for a happy sculptor and a beautiful work.
And that’s the magic of plaster!
Next time: we swap back to our study of stone and consider one of the most popular sculptural materials, alabaster.
Researched and written by William Jackson.
Image Captions:
Figure 1: TBSSS student Mia, beginning the process of making a plaster waste mould of her sculpture.
Figure 2: Examples of interior stucco work (source: Wikimedia commons)
Figure 3: Relief by Henry Moore, Mask (1929), concrete (source: Wikimedia commons);
Figure 4: Relief by Eric Gill, Divine Lovers (1923), boxwood (source: Wikimedia commons);
Figure 5: the crystal structure of plaster in its dehydrated/anhydrous form.
Figure 6: the crystal structure of plaster in its hydrated, or hardened, form (source: Wikimedia commons)
Figure 7: Sisal fibres, used to reinforce plaster moulds and casts (source: Wikimedia commons)